Make a Button Box with our Craftaholics Paper Craft Pad
Quick & Simple Button Box Tutorial by Shabneez Khan-Muztar
Design team member Shabneez has been busy with her tutorial for a useful project for storing your buttons that you can either keep or make as presents!
If you're on the look out for your next craft project and are looking for some sewing accessories to help with your creativity, then this might just be the perfect project! Our Craftaholics paper craft pad combined with boxes and button embellishments makes the perfect craft kit and a great accessory for your sewing box. Follow the step by step guide below from design team member Shabneez Khan-Muztar and be inspired by her design.
Items needed
|
Craftaholics Craft Pad White Hearty Clay Katy Sue Designs Buttons Mould 6x6 Classic White Box Gingham Card and Peel Offs |
White Thread + Needle Adhesive Acrylic Paint Square Dies Scissors Paper Trimmer Alphabet Dies |

STEP 1
Lightly dust your mould with cornflour and fill the buttons with Hearty Soft White Clay. Carefully pop them out and allow to dry.

STEP 2
Once the buttons have dried paint them with paint, our design team member Shabneez used acrylic paints. You could also use colour clay instead to avoid painting.
STEP 3
Make up the base of the Classic White Box, take a look at the video below on how to make it. Next line the base with pink hammered card cut to 14.5cm square to fit this 6x6 box.

STEP 4
Cut your image from the Craftaholics Craft Pad to 14cm square. Shabneez used a stitched die. Next, take your buttons and stitch them with a needle and thread to your topper. Alternately you could glue the buttons direct to the card.

STEP 5
Die Cut the word ‘BUTTONS’ and adhere to the left hand side of the image.

STEP 6
Adhere the topper to the Gingham card cut to 14.9cm square. Stick this on to the front of the box lid before you make it up as it is easier to make sure it has stuck on properly. Make up the box lid and line with pink card like the base.

STEP 7
Cut 4 strips of blue gingham card to 14.9cm x 1.8cm and stick the stitching peel offs to all of them. Adhere these strips on all sides of the box.
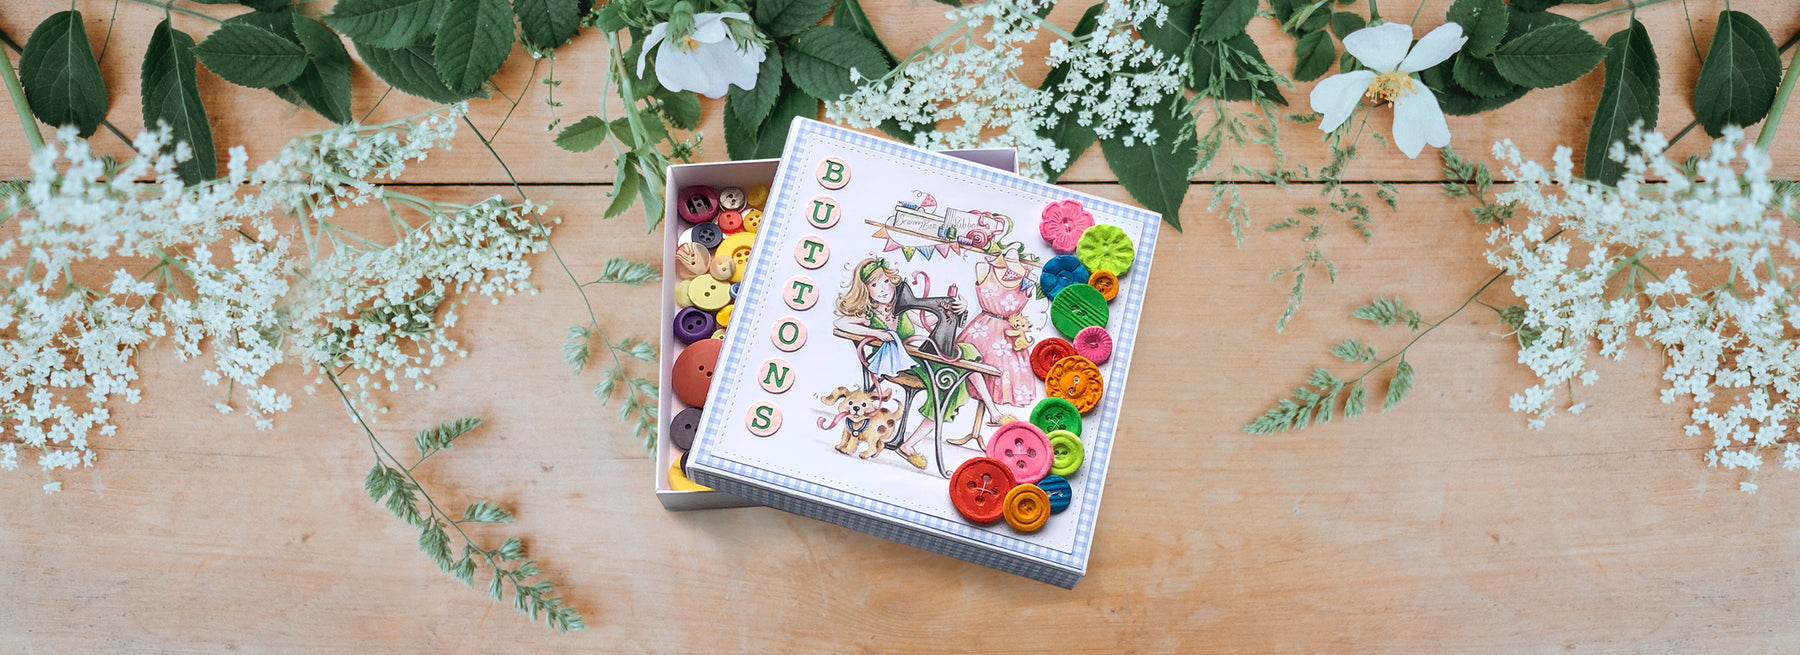
Take a look at the finished piece by Shabneez! What a perfect sewing accessory to add to your collection. We'd love to see your very own makes using our paper crafting range, don't forget to share on our Katy Sue Crafting Facebook group!

Leave a comment